
How to Register for AccessOAP: A Step-by-Step Guide for Ontario Families
*Written with the supervision of Renee Hacker, Registered Behaviour Analyst (RBA), Clinical Director
If your child recently received an autism spectrum disorder (ASD) diagnosis in Ontario, registering with AccessOAP is your gateway to provincial funding, Foundational Family Services, and Core Clinical Services. While the process is straightforward once you know what to expect, technical steps and missing paperwork can lead to frustrating delays. Here is your step-by-step walkthrough to successfully register on the AccessOAP family portal without the stress.
What is AccessOAP?
Step 1: Gather Your Required Documents Before You Begin
Before opening the portal, create a folder on your computer or phone with clear digital copies (PDF or high-resolution photo) of the following mandatory documents:
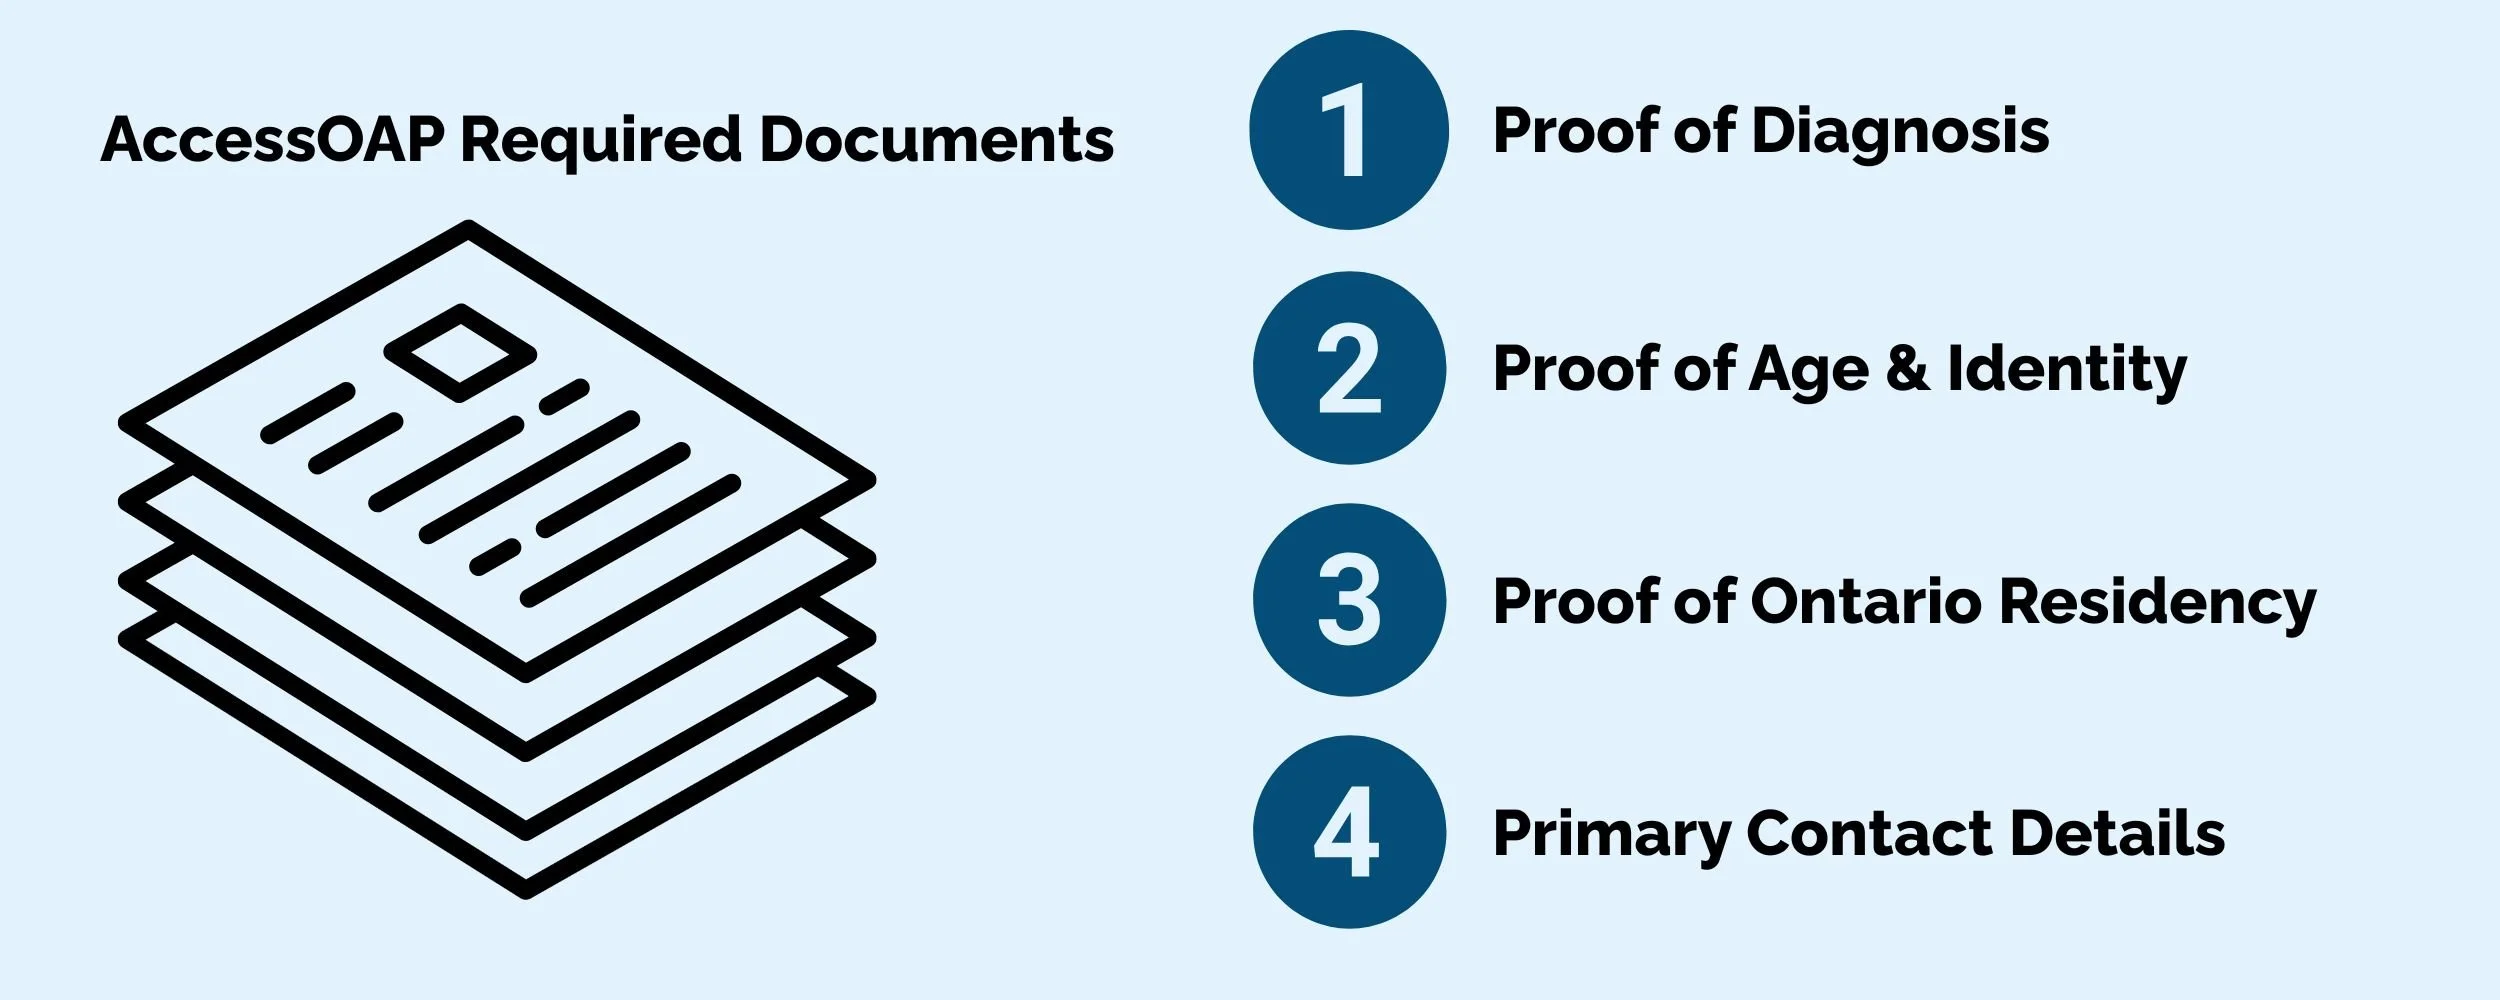
Proof of Diagnosis: Must be a formal diagnostic report or official confirmation letter from a qualified professional (physician, pediatrician, psychiatrist, or registered psychologist).
Crucial Detail: The document must explicitly state a diagnosis of Autism Spectrum Disorder (ASD) based on DSM-5 criteria, including the clinician's signature and registration number.
Proof of Age & Identity: Your child’s Ontario Health Card (OHIP), Birth Certificate, or Passport. (Child must be under 18 years old).
Proof of Ontario Residency: Driver’s license, utility bill, or lease agreement showing your current Ontario address.
Primary Contact Details: Legal parent/guardian contact information and emergency contacts.
Step 2: Create Your AccessOAP Account
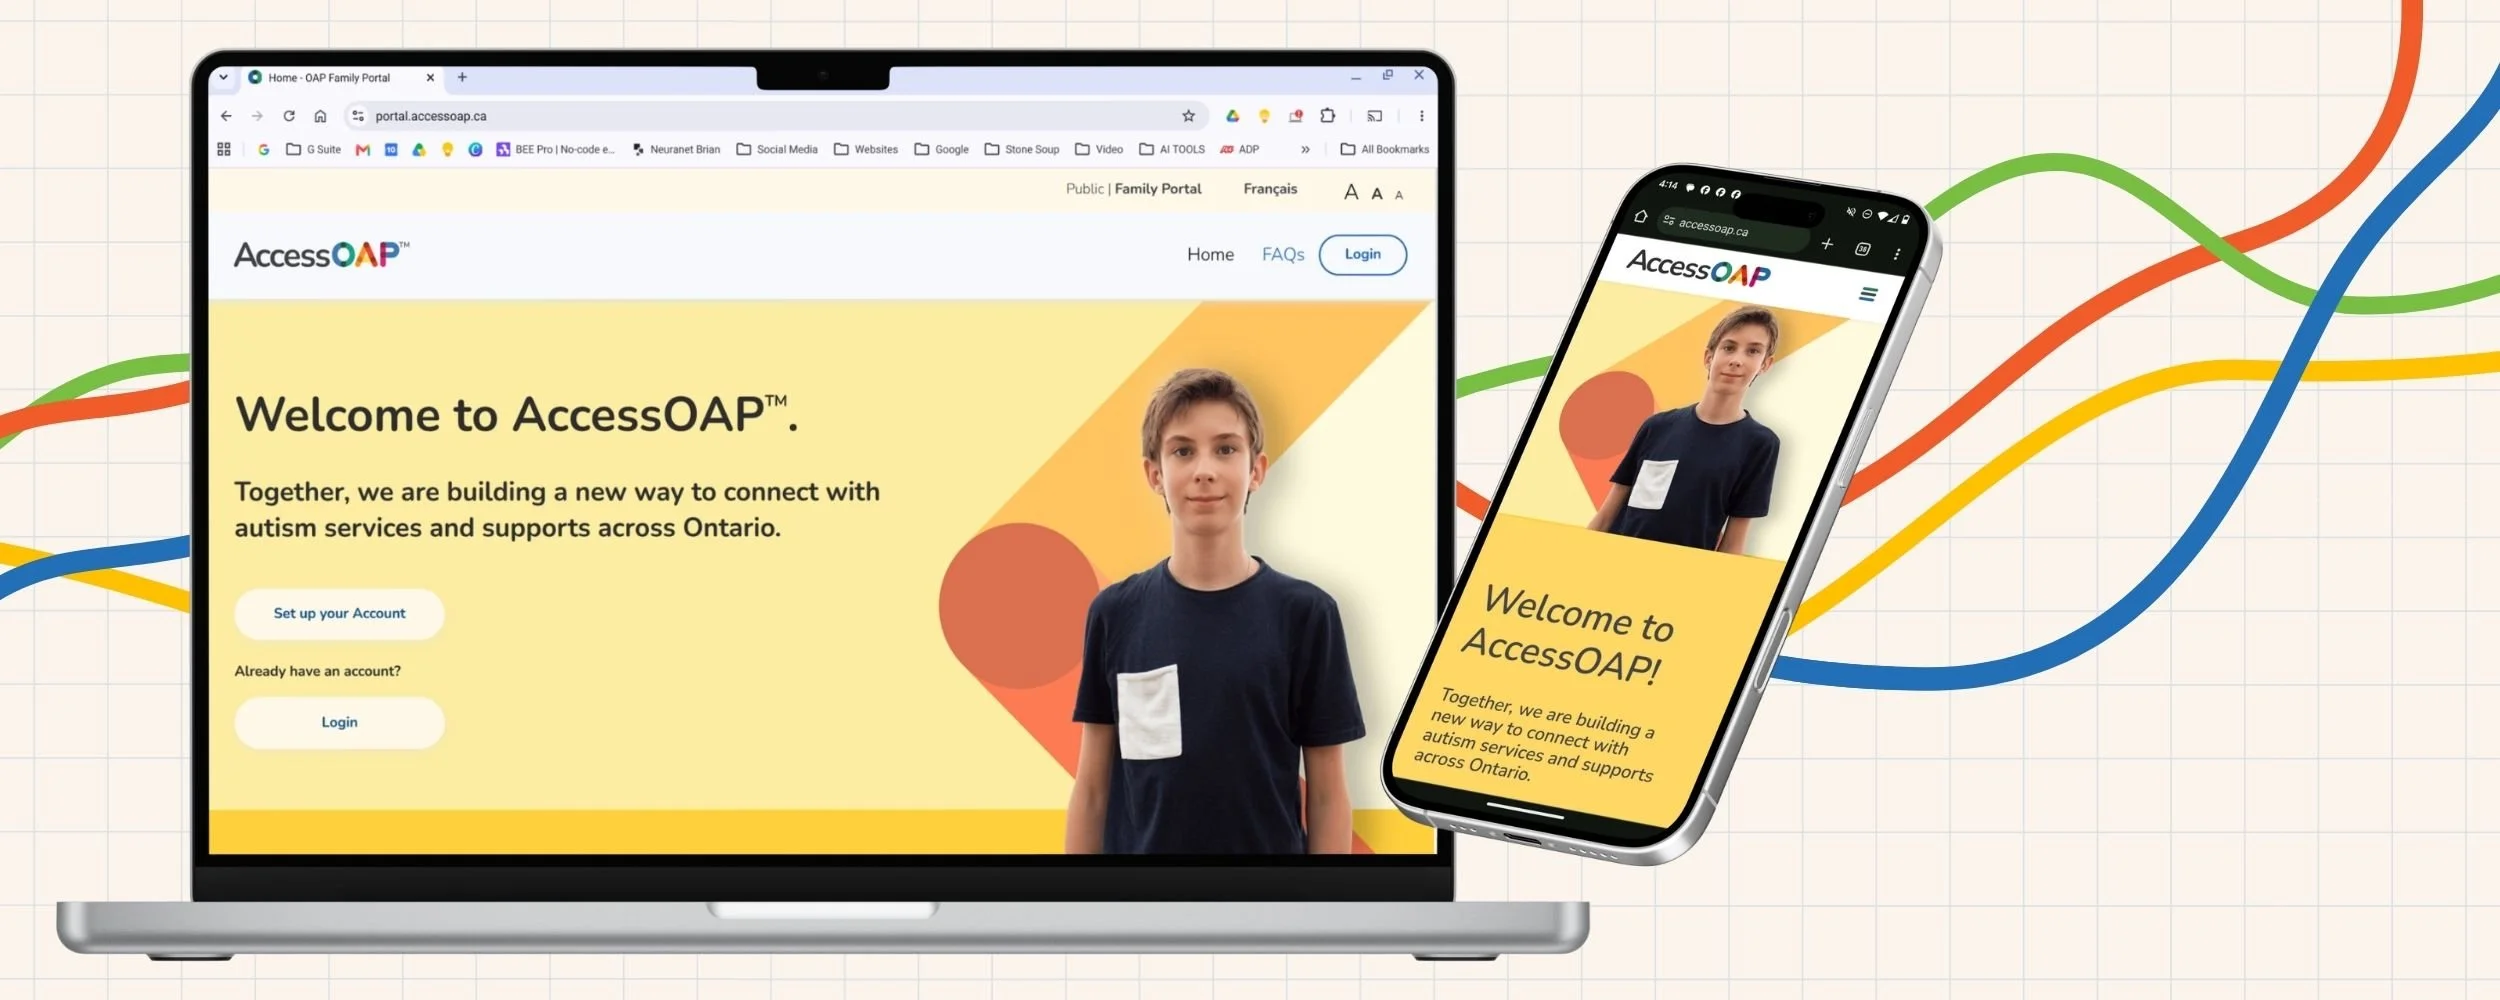
Navigate to [accessoap.ca] and click "Register / Sign In".
Select "Create an Account" as a parent/guardian.
Enter your primary email address and create a secure password.
Verify your email address by clicking the activation link sent to your inbox.
Step 3: Complete the Child Profile & Upload Documents
Add Child Information: Enter your child's legal name, date of birth, OHIP number, and primary residential address.
Upload Diagnostic Documentation: Accepted formats: PDF, PNG, JPG (Max file size: 10MB) Attach the digital copy of your child's written autism diagnostic report. Ensure all pages, clinician signatures, and DSM-5 statements are legible.
Submit and Confirm: Review your entries for accuracy and click Submit. You will receive an automated confirmation email with a unique AccessOAP Registration ID.
Step 4: What Happens After You Click Submit?
Submitting your registration is step one. Here is what to expect next:
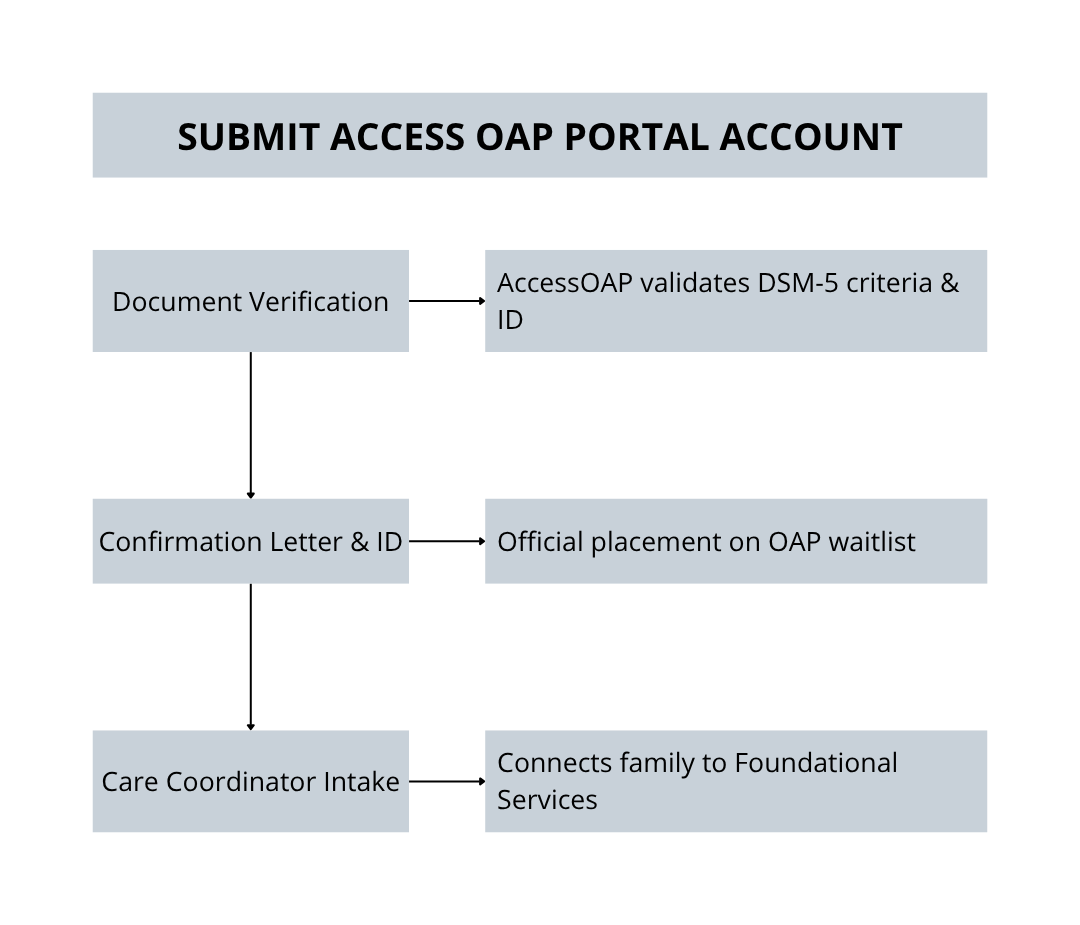
Document Verification: AccessOAP intake coordinators review your submitted diagnosis and identity documents (typically takes 2–4 weeks).
Official Confirmation Letter: Once verified, you will receive formal written confirmation confirming your registration date and OAP ID. Save this letter—it serves as official proof of registration for other programs.
Care Coordinator Intake: An AccessOAP Care Coordinator will reach out to schedule an initial intake conversation to help you navigate immediate Foundational Family Services, workshops, and peer supports while awaiting core clinical funding.
3 Common Registration Pitfalls to Avoid
Pitfall 1: Uploading an incomplete diagnostic summary: Sending only a single-page cover letter without the clinical diagnostic statement or practitioner signature will delay approval. Ensure the full diagnostic statement is attached.
Pitfall 2: Delaying registration for secondary assessments: Do not wait for speech or occupational therapy evaluations to finish. Submit your diagnosis immediately to lock in your registration date.
Pitfall 3: Not saving login credentials: The AccessOAP portal is where you will update contact details, receive funding notifications, and submit service forms over the coming years. Keep your password in a secure password manager.
Ready to Complete Your Registration?
Need help making sense of OAP funding allocations and eligible service expenses? Read our complementary guide on [Understanding Ontario Autism Program (OAP) Funding & Application Checklist] to get the most out of your OAP account.